Beginner's Guide to Tents for Backpacking
Table of Contents
Double-wall Tents
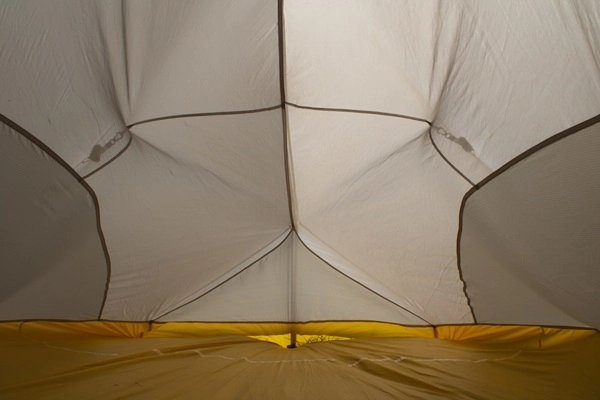
Transparent inner mesh
Gray outer rainfly
Double-wall tents manage condensation to keep you dry. They consist of an outer waterproof rainfly and an inner mesh wall.
The rainfly’s outer surface keeps out rain. Its inner surface collects condensation from your breath and allows it to run down to the outside of your tent.
The inner mesh wall protects you from insects and allows moisture from your breath to pass through to the outside. It also prevents you and your gear from contacting condensation on the rainfly.
The gap between the inner mesh wall and the rainfly allows ventilation to reduce condensation further. It also keeps you cool on hot nights.
Some double-wall tents have fast-fly setup, allowing you to pitch the rainfly first so rain doesn’t enter the inner tent while you pitch it. Fast-fly setup usually requires the manufacturer’s proprietary footprint, which is typically expensive.
Single-wall Tents
Single-wall tents consist of a single waterproof wall. Their purpose is to reduce weight. They’re also called tarp tents, but this term is ambiguous because it’s also used to describe simple tarps.
Some single-wall tents have mesh panels on their walls. Condensation rolls down the walls and exits through the mesh panels. This keeps you dry if you don’t touch the walls above the mesh. Some backpackers periodically wipe condensation off the walls with a cloth. An example of a single-wall tent with mesh panels is the Zpacks Duplex.
Single-wall tents without mesh panels collect condensation, soaking you and your sleeping bag and increasing the risk of hyperthermia. They are cheap, but I don’t recommend them.
Pros & Cons of Double-wall vs Single-wall Tents
Type Pros Cons Other considerations Double wall Prevents condensation
Easy for beginners to pitch effectively
Rainfly can be used separately as a tarp
Tent can be used without the rainfly for staying cool or stargazing
Some double-wall tents allow fast-fly setupHeavy
BulkyGood for humid environments
Most double-wall tents are freestanding or semi-freestanding, making it necessary to consider the pros and cons of these types of tentsSingle wall without mesh panels Light
CompactNo protection from condensation Not recommended
Most single-wall tents are non-freestanding, making it necessary to consider the pros and cons of these types of tentsSingle wall with mesh panels Light
Compact
Some protection from condensationMesh panels let in cold drafts Good for dry environments where condensation is low
Freestanding Tents
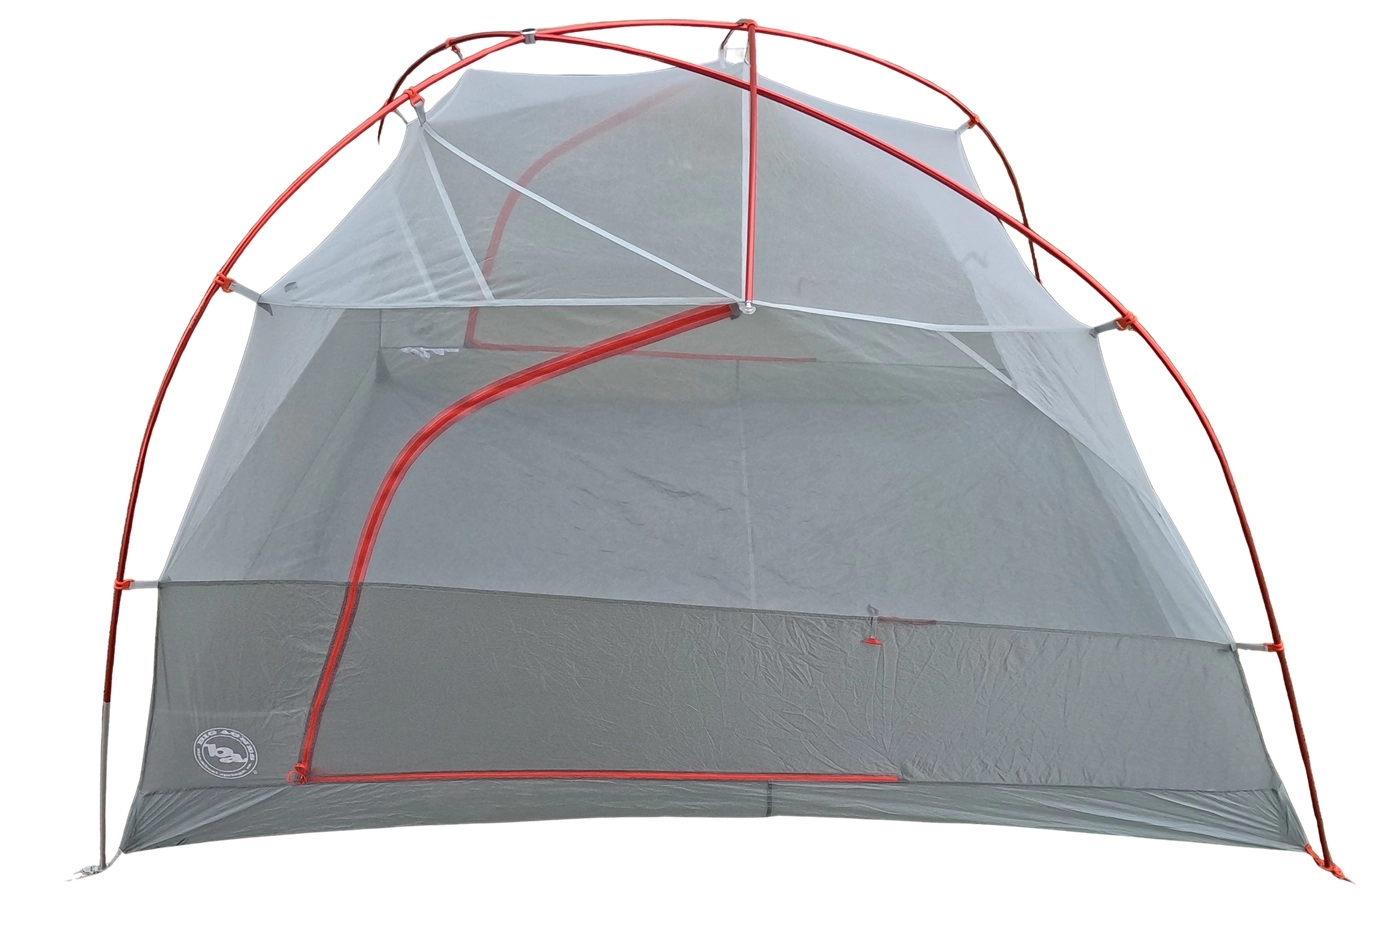
Every corner has a pole.
Freestanding tents stand up by themselves without stakes because their structure is provided entirely by poles. However, you’ll normally want to use stakes to make the tent taut and prevent it from blowing away in the wind. An example of a freestanding tent is the Big Agnes Copper Spur UL2.
Semi-freestanding Tents
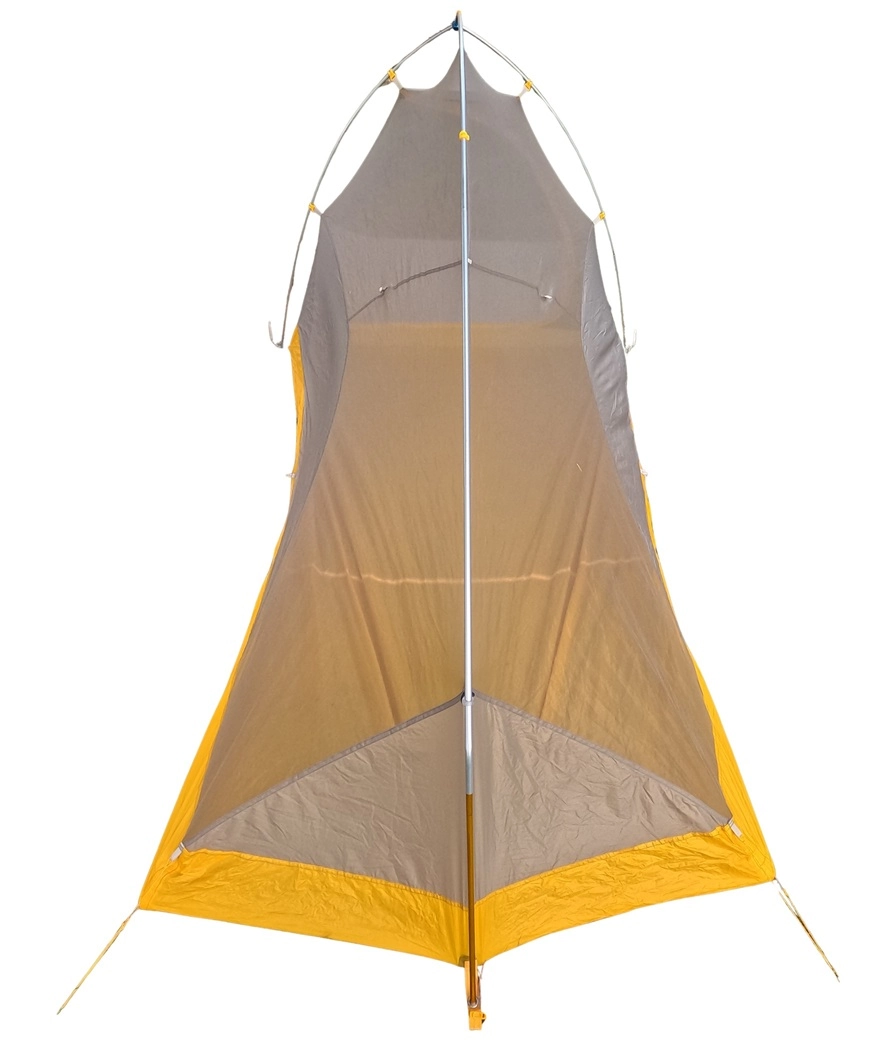
The foot has only one center pole.
The corners must be staked out at the foot since it has no lateral poles.
In semi-freestanding tents, the structure is provided mostly by poles, but stakes are necessary to provide full structure, volume, rigidity, and weather resistance.
Semi-freestanding tents typically have a tripod pole structure with two poles at the head end and one pole at the foot end. The foot end is staked out to increase interior volume and extend the rainfly so rain doesn’t enter the tent mesh.
At first, it might seem like semi-freestanding tents are the least desirable because they lack the advantages of freestanding and non-freestanding tents. However, semi-freestanding tents are lighter than free-standing tents and more versatile than non-freestanding tents. If you’re camping on terrain such as sand or solid rock that doesn’t allow staking, you can use a semi-freestanding tent like a free-standing tent. However, your feet and the bottom of your sleeping bag might get wet in heavy rain and wind.
I bought a semi-freestanding Big Fly Creek UL2 for $180 in an Ebay auction. I’ve slept in it without staking it out, but I wouldn’t try this in the rain.
Non-freestanding tents
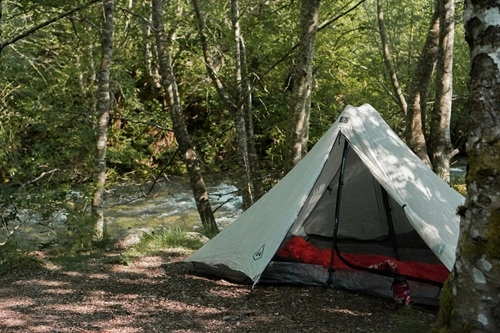
Non-freestanding tents must be staked out. They typically are held up by one or two trekking poles in the center. An example is the Zpacks Duplex.
Pros & Cons of Freestanding, Semi-freestanding, and Non-freestanding tents
Type Pros Cons Other considerations Freestanding Can be pitched on a wide variety of terrain
Can be moved after being set up
Sturdy
Usually shaped for optimal interior dimensionsHeavy Most are double-walled, making it necessary to consider the pros and cons of double-wall tents Semi-freestanding Lighter than freestanding tents
Can be used without stakes under certain conditions
Can be set up on a wider variety of terrains than non-freestanding tents (solid rock, sand)Stakes are necessary for full structure, volume, rigidity, and weather resistance Most are double-walled, making it necessary to consider the pros and cons of double-wall tents. Non-freestanding Lightest Requires stakes Most are single-walled, making it necessary to consider the pros and cons of single-wall tents.
3-season vs 4-season Tents

Lightweight 2-pole structure
Mesh canopy
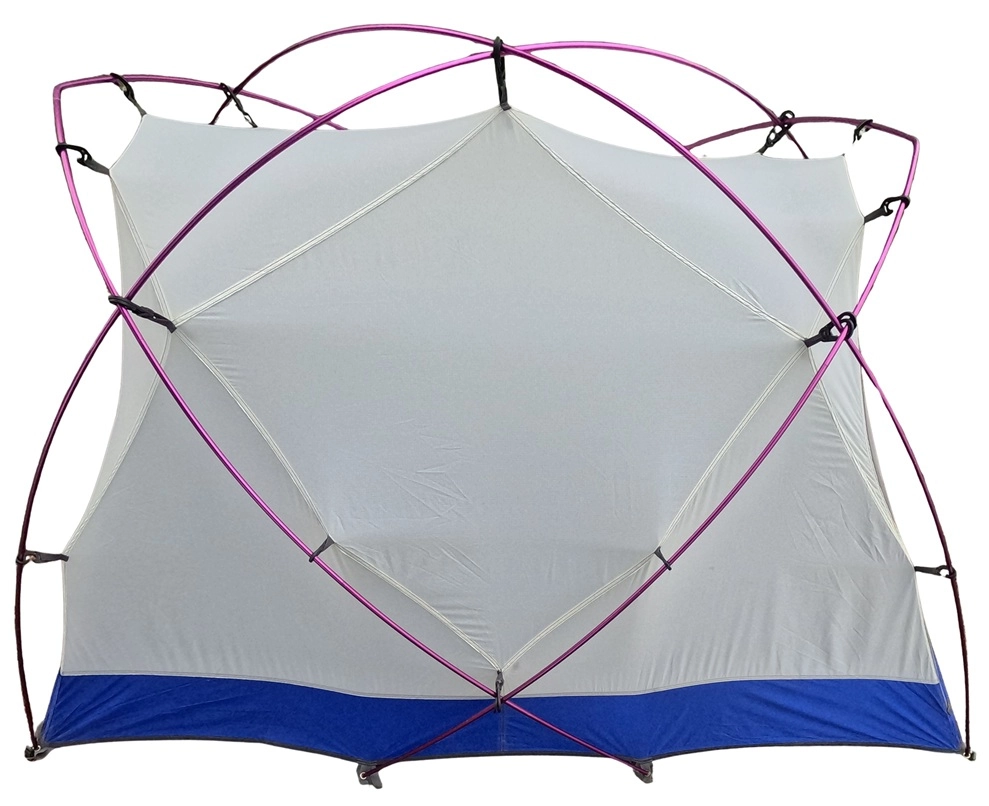
Sturdy 4-pole structure
Solid-fabric canopy
The terms “3-season” and “4-season” don’t literally mean 3 and 4 seasons.
3-season tents prioritize light weight and ventilation. In double-walled 3-season tents, the inner tent typically has a lot of mesh for ventilation to prevent condensation.
4-season tents are designed for frigid temperatures, strong wind, and heavy snowfall. Instead of having mesh, the inner tent consists mainly of breathable fabric that stops cold drafts. The pole structure is sturdy, and the interior volume is large to accommodate winter gear. Their poor ventilation makes these tents feel miserable on hot nights. 4-season tents are too heavy for comfortable backpacking in most weather conditions. They also tend to be expensive.
For budget backpackers, I recommend buying one 3-season tent and avoiding below-freezing temperatures, strong winds and heavy snowfalls. Being a budget backpacker requires making some sacrifices.
Tent Capacity
Most backpacking tents are for 1 to 4 people.
Ultralight tents tend to be cramped, depending on the manufacturer. If you backpack solo, consider buying a 2-person instead of a 1-person ultralight tent. You’ll be more comfortable and have space to add a hiking partner or store your gear when it rains.
Front Entry vs Side Entry
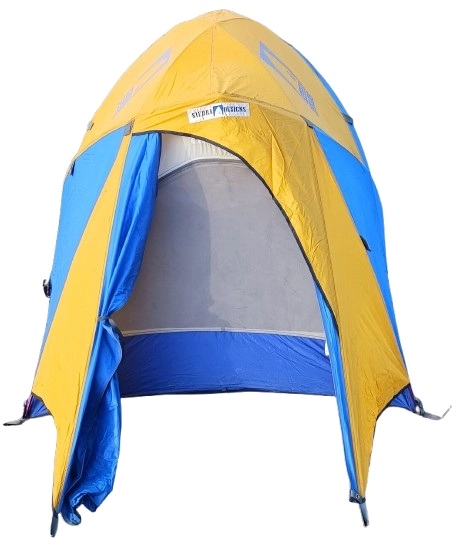
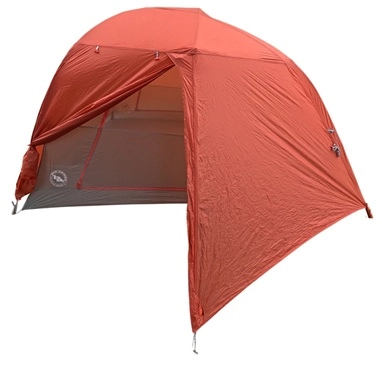
Tents with two side entries are more convenient:
- Easier to enter and exit
- Usually more total vestibule space
- You and your partner each have your own door and vestibule
- If you need to go to the bathroom in the middle of the night, you can exit and enter without climbing over your partner and waking them up
- Better ventilation
- Easier access to items in all areas of the tent
- Sometimes more stable in wind because of the way the tent is staked and guyed
An example of a tent with two side entries is the Nemo Hornet 2. An example of a tent with one front entry is the Big Agnes Fly Creek HV UL2
Vestibule
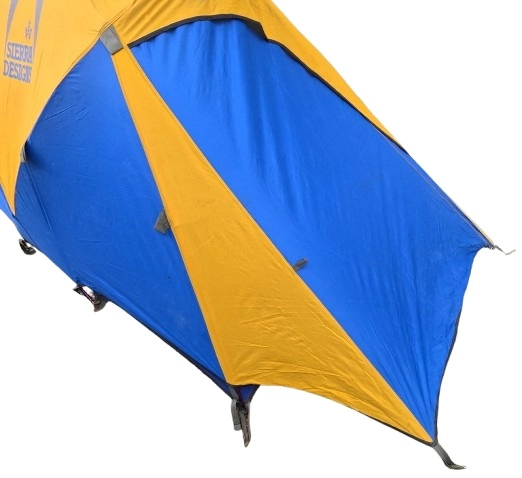
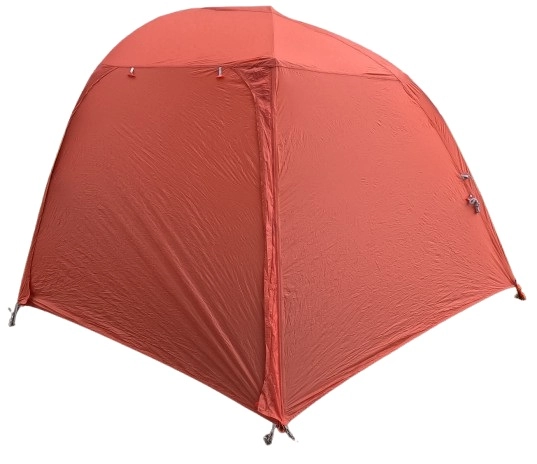
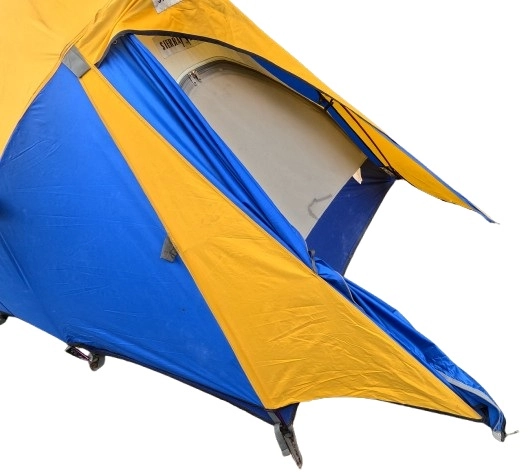
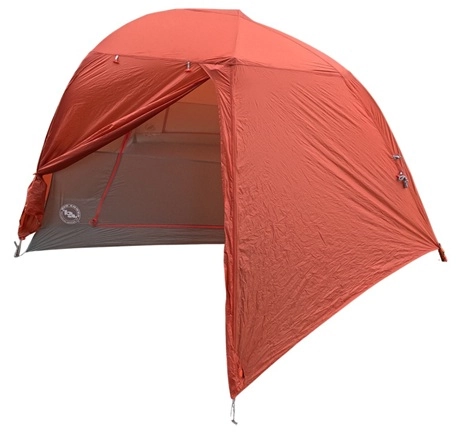
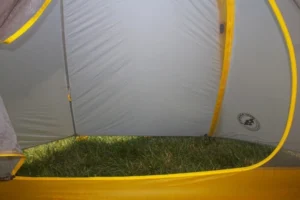
The vestibule is the portion of the rainfly that extends beyond the tent door like a porch. It’s for storing wet and muddy gear outside your tent. It also helps keep rain from entering the tent door as you enter or exit.
Some backpackers cook inside the vestibule when it’s raining. I don’t recommend this as it’s easy to melt or damage the tent. The smell of food inside your tent may also attract bears and other animals.
Groundcloths and Footprints
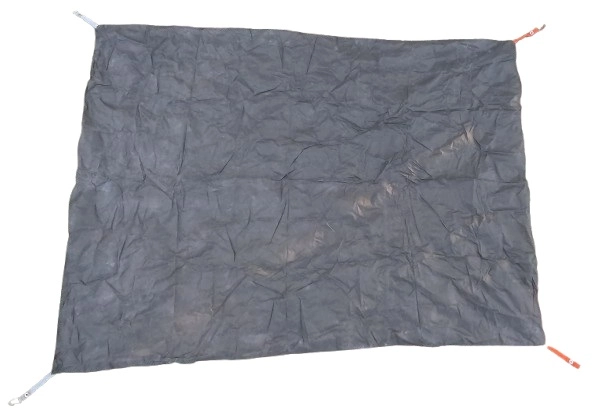
Groundcloths and footprints keep the bottom of your tent clean and protect it from rocks and roots. Groundcloths are designed for general use, including tents. Footprints are designed for specific tent models and are often expensive.
You can save money by using one of the following materials for your groundcloth/footprint:
- Polycro such as Frost King Window Film
- Tyvek
Some manufacturer-designed footprints allow for fast-fly setup, described in the section about double-walled tents.
Tent Poles

Pros & Cons of Tent Pole Materials
Material Pros Cons Steel Strongest
AffordableToo heavy for backpacking
Can corrodeFiberglass Affordable Heavy
Not strong
Very brittle, especially when coldAluminum Lightweight
Strong
Flexible
DurableSomewhat expensive
Can corrode
Can deform slightlyDAC Featherlite Lighter than other aluminum
Strong
Flexible
DurableMore expensive than other aluminum
Can corrodeCarbon Slightly lighter than aluminum and DAC Featherlite
Stronger than aluminum, DAC Featherlite, and fiberglassVery expensive
Not very flexible
Brittle
Not very durable
For budget backpackers, I recommend tents with aluminum poles because of their strength, flexibility, durability, and light weight.
DAC Featherlight poles are even better but are more expensive.
There are also tent poles made of various kinds of composite materials.
Tent Stakes
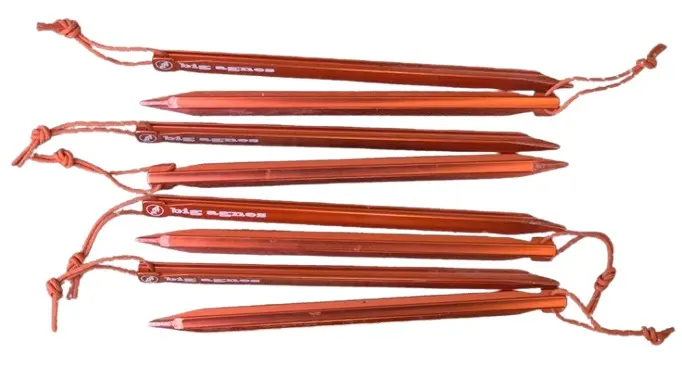
Stake Shapes
| Stake Shape (cross-section) | Substrate |
|---|---|
| V-stake | Soft to hard |
| Y-stake aka groundhog | Soft to hard |
| Shepherd’s-hook stake | Medium to hard |
| Nail stake aka needle stake | Firm to hard |
| Cyclone stake aka screw stake | Loose to soft |
| Snow stake aka sand stake | Loose to soft |
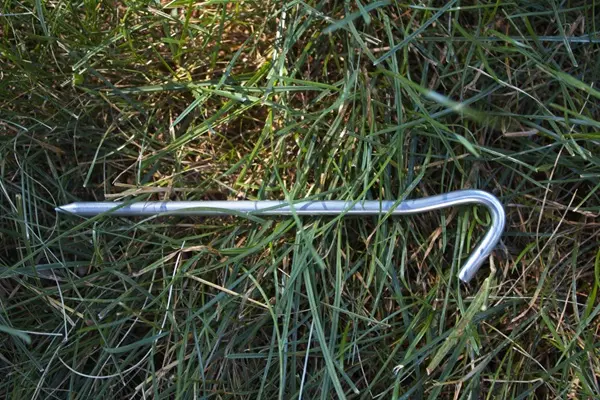
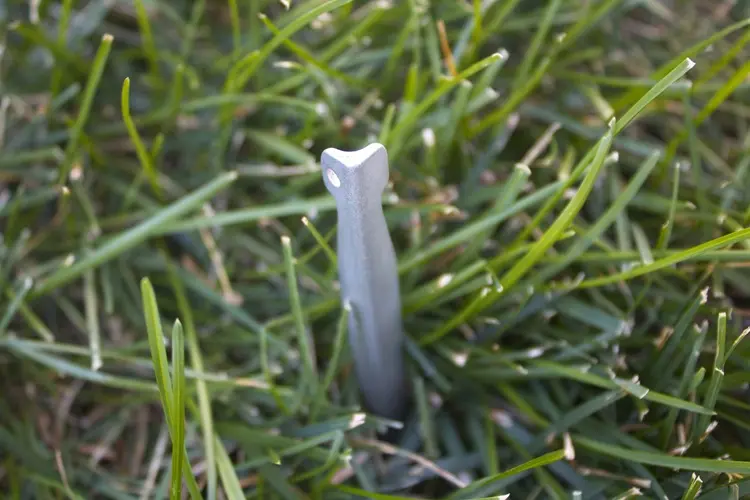
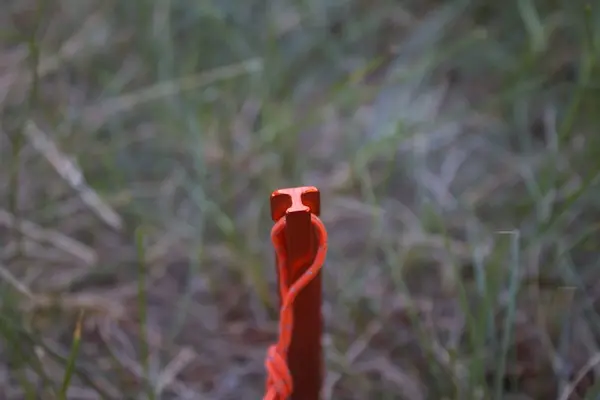
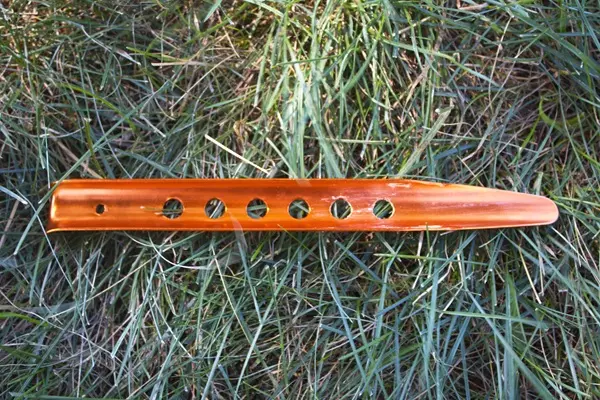
Pros & Cons of Stake Materials
| Stake Material | Pros | Cons |
|---|---|---|
| Aluminum | Light Inexpensive | Bend easily Not suitable for rocky substrates |
| Stainless steel | Strong Suitable for rocky substrates Inexpensive | Heavy |
| Titanium | Strong Light | Expensive |
| Plastic | Strong Inexpensive Bend without breaking | Hard to drive into extremely hard ground |
| Carbon | Light | Expensive Can shatter if pounded hard in rocky ground |
Packaged Weight and Trail Weight
Tent manufacturers typically list two weights for their tents:
- Packaged weight
- Trail weight.
Packaged weight
- tent body
- rainfly
- poles
- stakes
- guylines
- stuff sacks
- footprint if included
Trail weight
- Tent body
- Rainfly
- poles
Aim for a packaged weight under 4 lbs, preferably under 3 lbs.
Tent Fabrics
Most tents are made of 20-40D nylon.
Utralight tents are typically made of 10-20D silnylon.
Many ultralight DCF tents are made of 5-10D DCF.
Some low-end tents are made of polyester, typically 190T. These tend to be heavy because a high thread count is required to make them durable. Lightweight polyester tents are not durable, and I don’t recommend them.
To learn about denier (D), thread count (T), fabric density, nylon, silnylon, polyester, DFC, waterproof coatings, and other aspects of fabrics, see:
Learn about Fabrics for Tents, Backpacks, and Sleeping Bags
Tent Care, Waterproofing, and Repair
Also see How Not to Buy a Used Tent on Ebay!
